How to Draw a 13-Armed Fibonacci Spiral
It is impossible to draw a Fibonacci spiral, you can only draw a close approximation of one. As it is impossible to draw a 13-sided shape, you can only draw an approximation of one. So I set out this past week to draw a 13-armed Fibonnaci spiral. To do this I start with a 13-sided shape. Giuliana volunteered to draw the 13-sided shape and after several valiant attempts that came darn close, we got out the protractor. 360/13=27.69, and marked the degrees around the circle. I realized I wasn’t too clear in my last post about how I start the multi-armed spiral, so hopefully this post is better. In my web searches I also found I am not the only person confused on how to start the multi-armed spiral, and also that this is not the only way to do it. Maybe not even the best way to do it, but it’s how I do it. Here it goes:
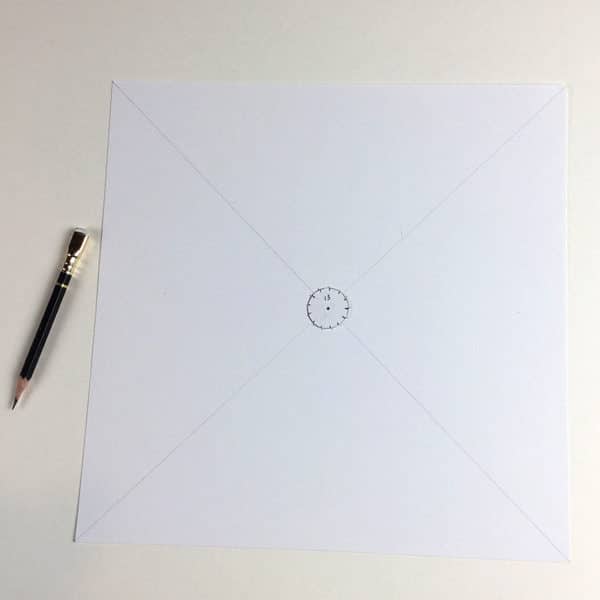
Cut a small circle from heavy weight paper, make 13 marks evenly spaced around the circle. Place in center.
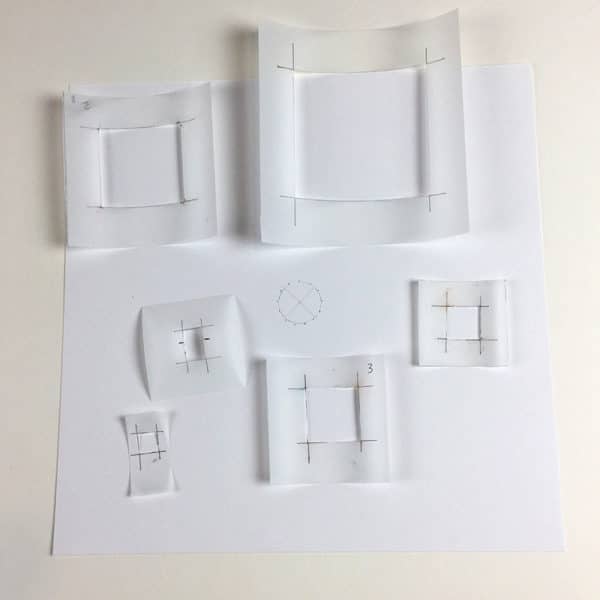
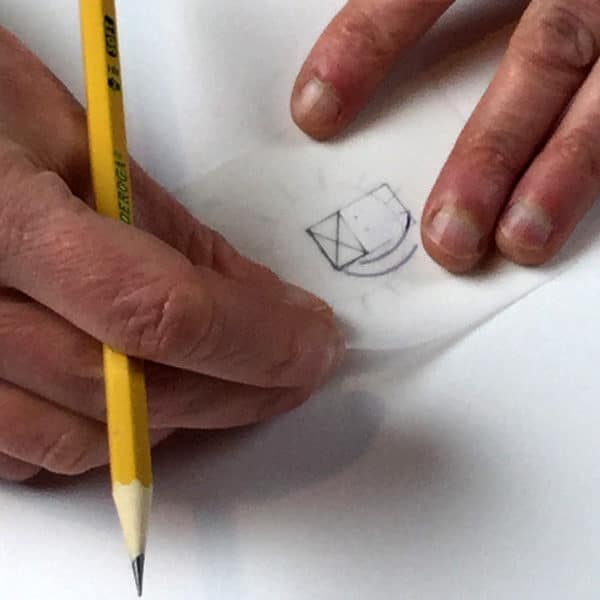
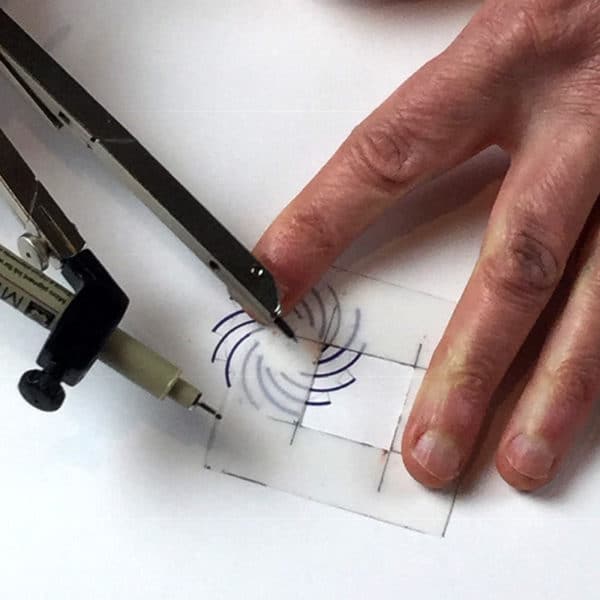
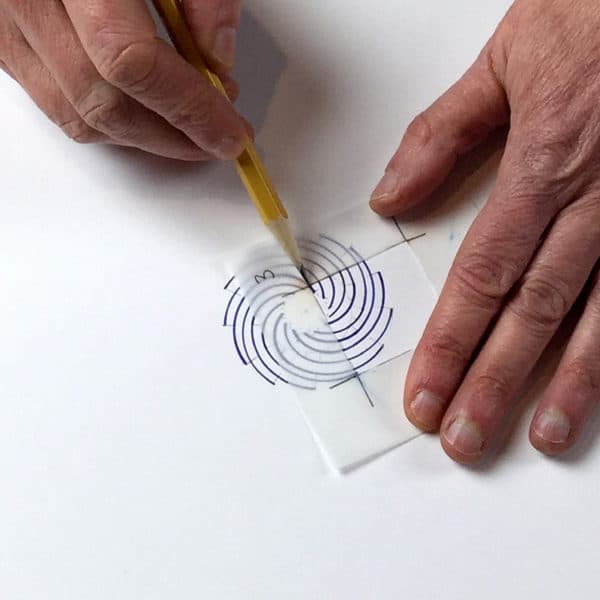
I cut out square stencils so I don't have to draw squares for every arc. I can line them up and mark where to put the compass point, and where to start and end the arc. Not drawing the full squares prevents having to erase a lot later.
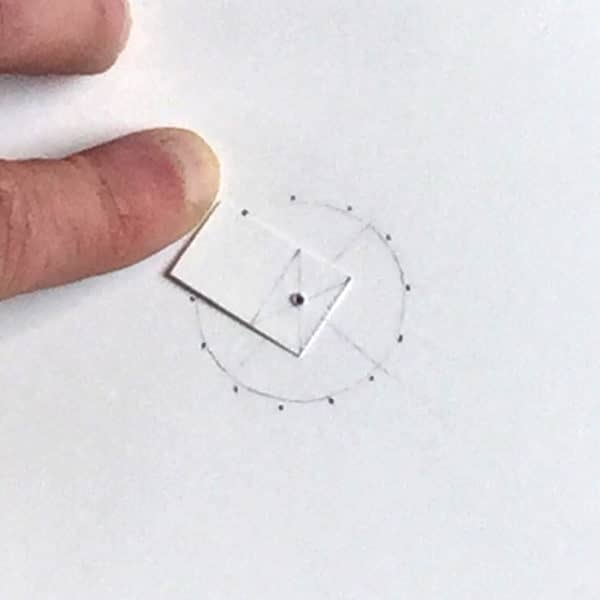
The cross in the golden rectangle lines up with the center of the circle. The edge of the square lines up with each of the 13 points on the circle, one at a time. Here I am setting up to draw my second line.
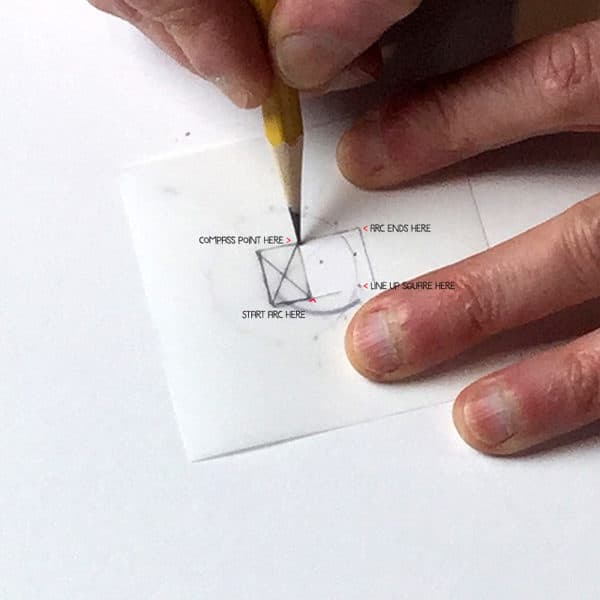
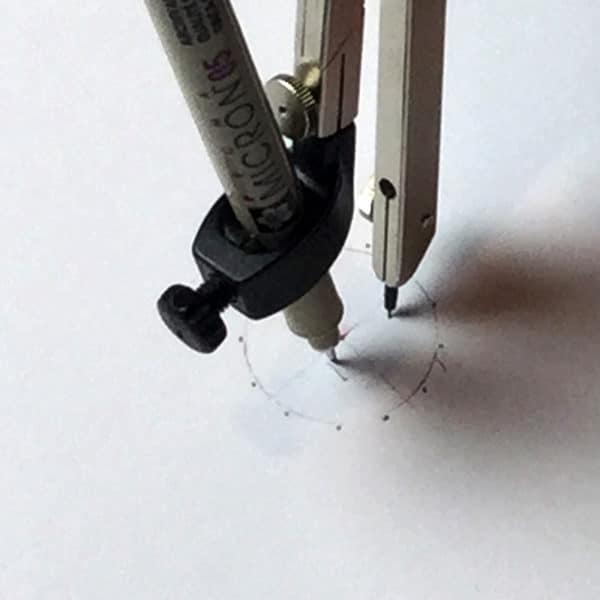
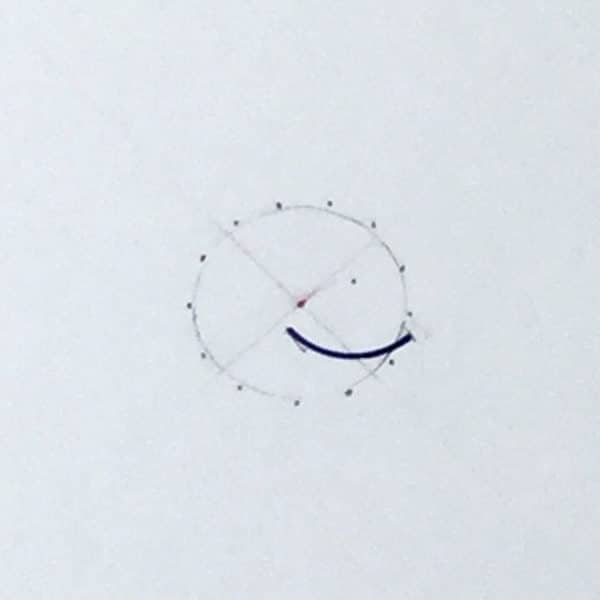
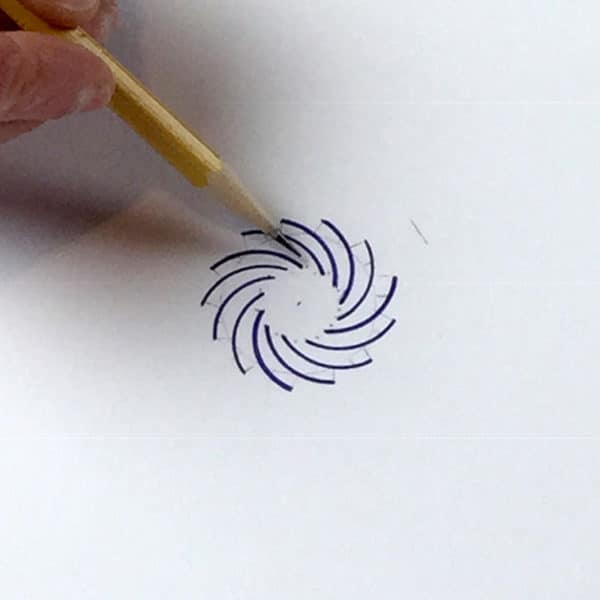
The first arc. You can see the dot marking the compass point and lines showing where to start and end the arc.
Here you can see the compass points are defining a circle as I go around making the arcs. Six down, seven to go.
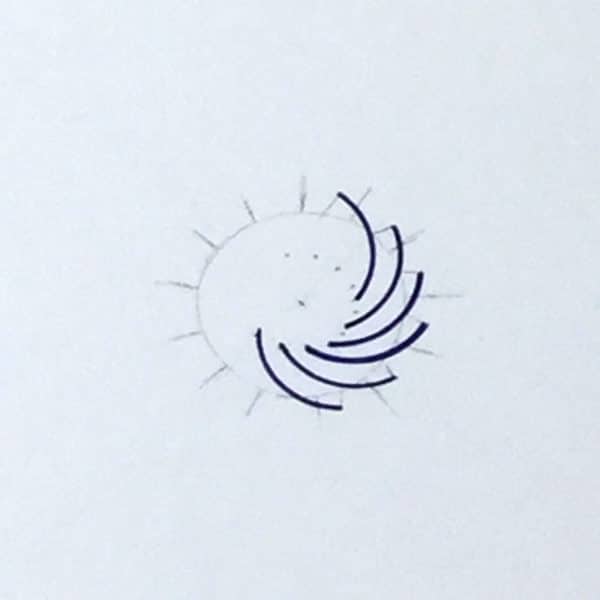
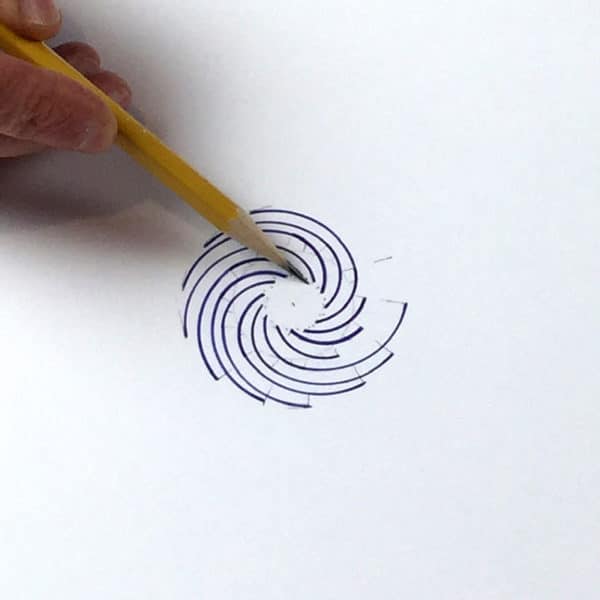
Lining up square number 2 to do the next series of arcs. One corner of the square is placed right on the end of the previous arc. Then I mark where to put the compass point and where to end the arc. The compass point is always at the corner of the square closest to the center of the circle.
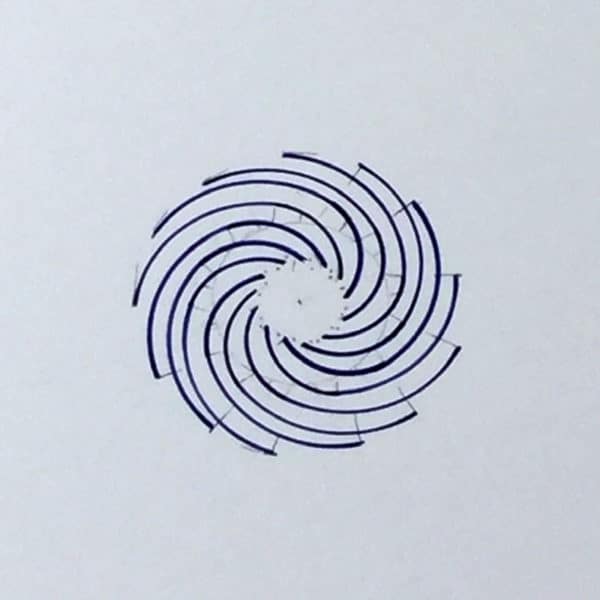
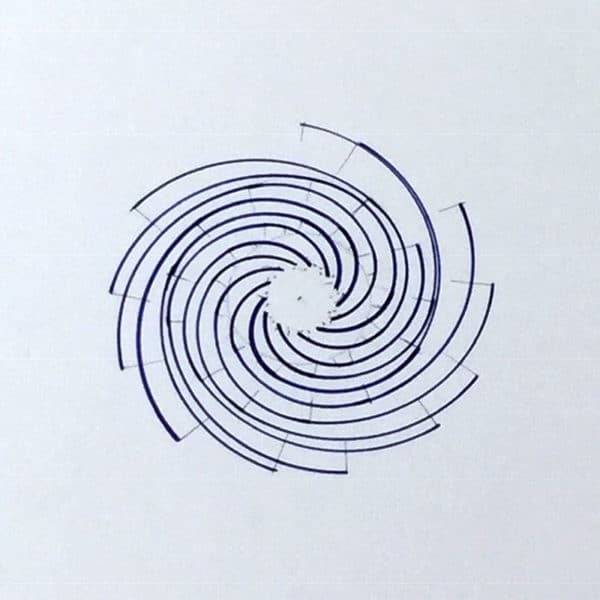
Looks like I messed up somewhere. I am not interested in making these perfect but I do aspire to better than this. I think I was too approximate when I lined up some of the square stencils.
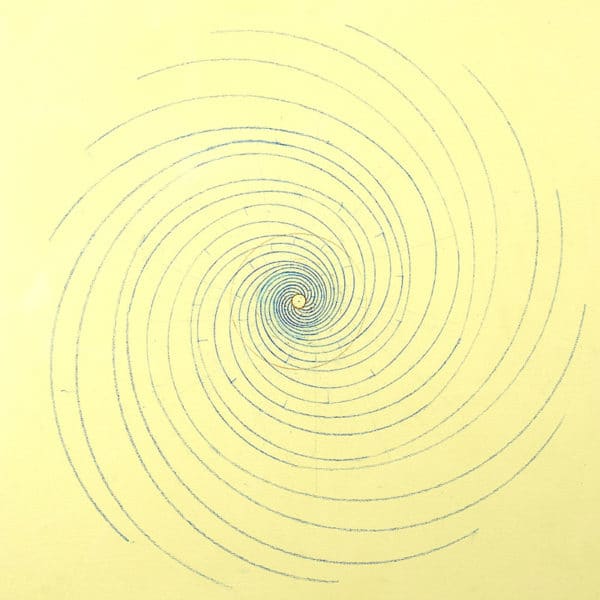
So I try it again with colored pencil so that I can erase if I have to. I didn't take photos as I was working so I could concentrate better. I realized that since the compass points line up in a circle I could just draw a circle and all my compass points should fall on it.
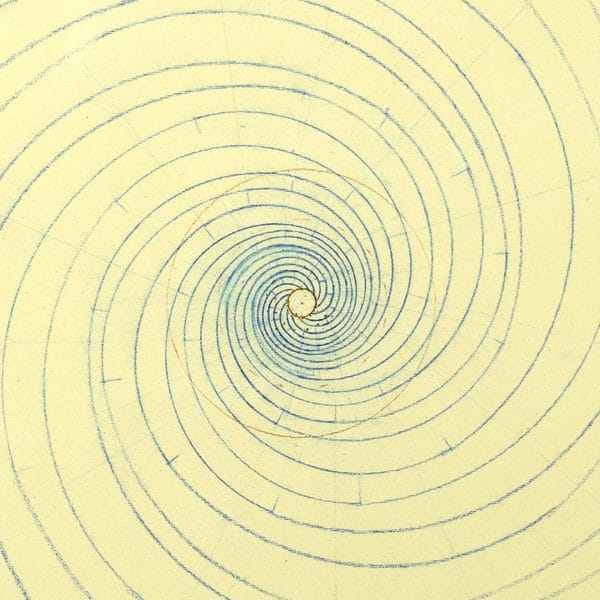
Here you can see more closely the red lines and the red circle that I drew to mark the compass points. For the some of the arcs I didn't use the stencil. Since I could guess where to put the compass point and I knew where to start the arc, I'd just guess where to end. It was very fast, but not very accurate.
I sure am learning a lot by doing this. It was a big revelation when I realized I could just draw a circle to guide the compass points. Right in the middle of each arm was the place to point the compass. I could make my way around the circle leap frogging over each arm into the exact center between the lines and place my compass point there. Of course this only works when you have done the first couple of revolutions, otherwise everything is just too small.
